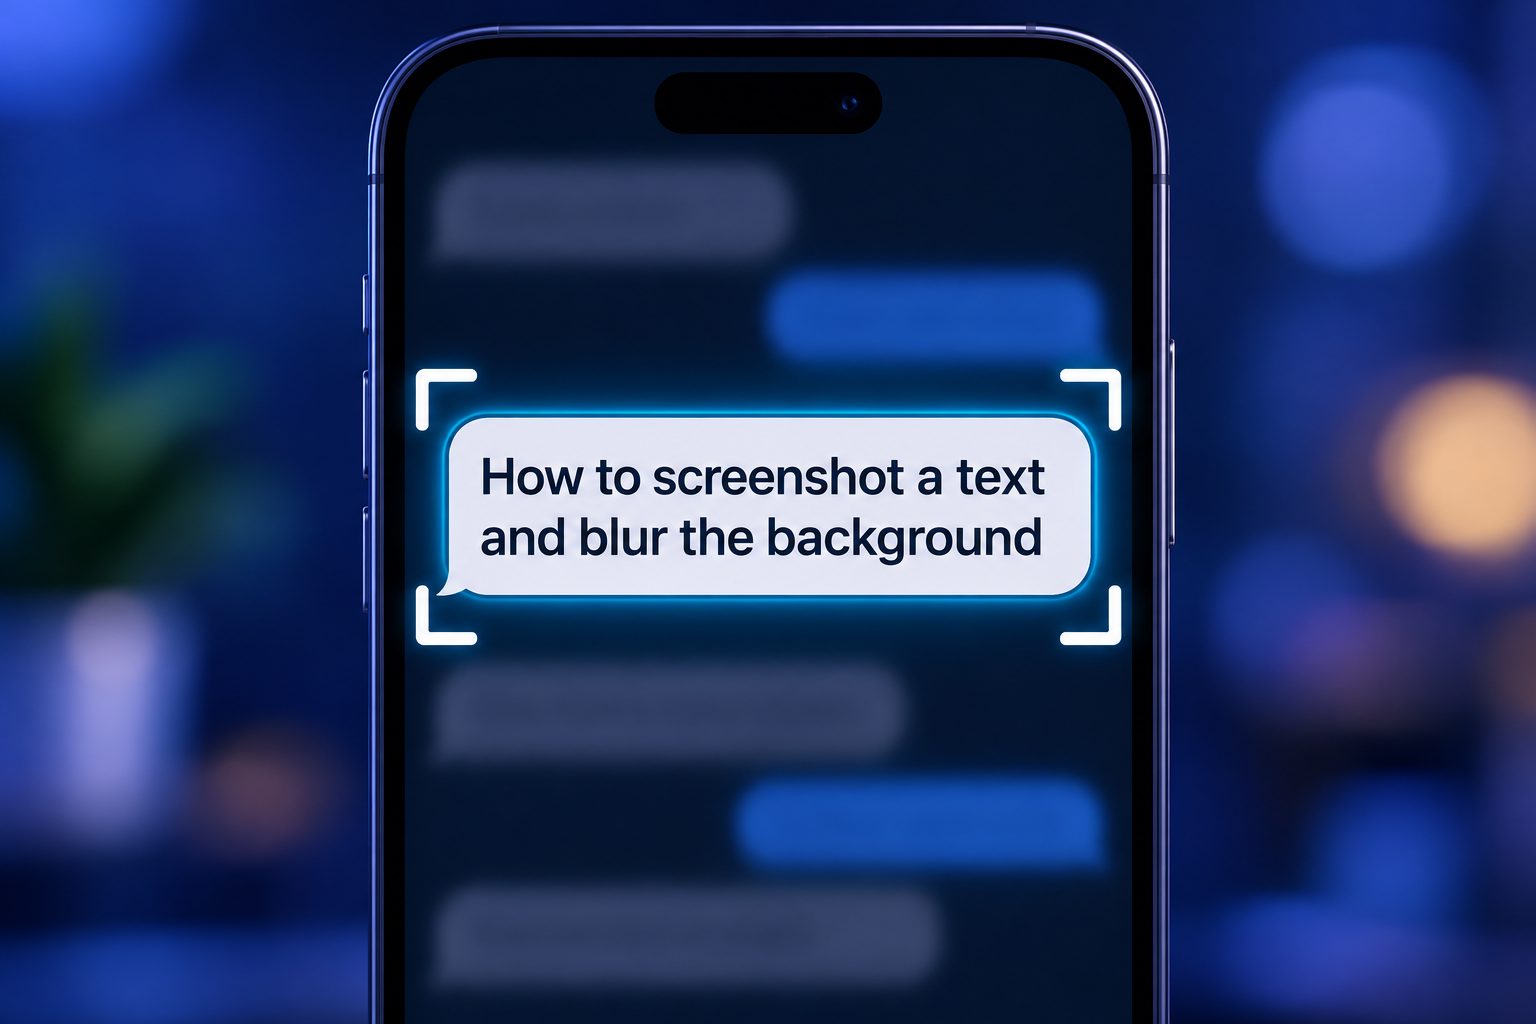
Taking a screenshot of text and blurring the background is a simple way to keep attention on an important message while hiding distractions or private details. Whether you are sharing a quote, a chat excerpt, a note, or a helpful instruction, this technique can make the final image look cleaner and more professional. It is especially useful when the original screen contains names, notifications, photos, or other information you do not want to display. In this guide, you will learn what it means to screenshot text and blur the background, why it matters, and how to create a polished result on a phone, tablet, or computer.
Why Blur the Background of a Text Screenshot
A blurred background separates the main text from everything around it. The reader’s eyes go directly to the message instead of wandering across icons, open tabs, profile pictures, or unrelated details.
It also improves privacy. A screenshot may accidentally show contact names, account details, locations, browser tabs, notifications, or private conversations. Blurring those areas helps you share the useful part without exposing more than intended.
Finally, a soft background can make ordinary screenshots feel more intentional. This is useful for social media posts, presentations, tutorials, customer support examples, and personal messages.
What It Means to Screenshot Text and Blur the Background
To screenshot a text and blur the background, you first capture the text on your screen. Then you use an editing tool to soften the parts around the text while keeping the words sharp and readable.
The blur does not need to cover the entire image. In many cases, the best result comes from leaving the text box clear and blurring only the surrounding screen. This creates contrast without making the screenshot look overly edited.
You can also blur selected areas rather than the whole background. For example, you might keep a quote, timestamp, or heading visible while hiding the sender’s name and the rest of the screen.
Benefits of Blurring a Screenshot Background
- Better focus: A clear text area stands out immediately against a softened background.
- More privacy: Sensitive details, faces, usernames, notifications, and account information can be concealed.
- Cleaner design: Blur reduces visual clutter and gives the screenshot a more polished appearance.
- Easier sharing: You can reuse a screenshot in a post, document, slide, or tutorial with fewer distractions.
- Flexible editing: You can choose a light blur for context or a heavy blur when privacy matters most.
- Professional presentation: A well-edited screenshot looks deliberate rather than rushed.
Prepare the Text Before Taking a Screenshot
1. Clean Up the Screen: Close unrelated tabs, remove visible notifications, and hide anything that could distract from the text. A cleaner starting screen means less editing later.
2. Increase Readability: Make sure the text is large enough to read easily. If needed, enlarge the font, zoom in, or adjust the display so the message is not cramped.
3. Check the Contrast: Dark text on a light background or light text on a dark background is usually easiest to read. Avoid screenshots where text blends into images or busy colors.
4. Capture Enough Context: Include only the context readers need. A quote may need a source label, while a support instruction may need a heading or one nearby step.
5. Remove Sensitive Information: Before taking the screenshot, check names, email addresses, phone numbers, payment details, and private messages. Hiding them beforehand is safer than relying only on blur.
6. Choose a Calm Background: If possible, place the text over a simple interface or plain background. Blurring a simple background often looks smoother and keeps the words prominent.
7. Decide the Final Use: A screenshot for a small social post needs larger text than one for a full-size document. Knowing where it will appear helps you crop and edit correctly.
How to Screenshot Text on a Phone
Most phones have a built-in screenshot shortcut. On many modern devices, you press the side button and volume-down button together. Some models may use a different button combination or a gesture.
After taking the screenshot, tap the preview that appears on the screen. This usually opens basic editing tools, including crop, markup, drawing, and sometimes blur or conceal options.
Crop the image first. Remove unused areas around the text so the viewer sees only the important content. Then look for a blur, mosaic, pixelate, or markup tool. If the phone’s editor does not offer one, use a trusted photo-editing app with a selective blur feature.
When applying blur, protect the text area. Many apps let you paint blur over selected parts, while others allow you to blur the entire image and restore clarity in a chosen area. Zoom in before saving to confirm that every word remains readable.
How to Screenshot Text on a Computer
On a computer, use the built-in screenshot feature to capture a selected area instead of the entire display whenever possible. This gives you a cleaner file and reduces the need for heavy cropping.
Open the image in a basic editor or photo application. Crop the edges, then use a blur, pixelate, or shape tool to hide the background. If the editor has layers or selection tools, select the text first so you can protect it from the blur effect.
A common method is to duplicate the screenshot, blur the lower copy, and place the clear text area over it. This works well when you want a smooth, controlled background without damaging the words.
Before exporting, view the image at its intended size. Small text may look fine at full resolution but become hard to read when uploaded to a chat, slide, or social platform.
Ways to Blur the Background While Keeping Text Clear
1. Use Selective Blur
Selective blur lets you paint over only the distracting background areas. It is fast and useful when the text already has a clear box around it. Keep the blur edge slightly outside the text so no letters become soft.
2. Blur the Whole Image Then Restore Text
Some editors let you blur the entire screenshot and use a brush or mask to reveal the original text. This creates a consistent background effect, especially when the screen contains many small details.
3. Add a Clear Text Crop Over a Blurred Copy
Create two versions of the same screenshot. Blur one version, then place a cropped clear version of the text over it. This gives you precise control and is useful for presentations or visual posts.
4. Use a Shape Behind the Text
Instead of blurring heavily, add a plain light or dark block behind the text. This approach can improve readability when the screenshot background is too busy or the blur looks uneven.
5. Pixelate Private Details
Pixelation is often better than soft blur for personal information. It makes names, faces, numbers, and account details harder to identify. Use it carefully, because weak pixelation may still leave information recognizable.
6. Darken the Background Slightly
A subtle dark overlay paired with light blur can make text stand out without turning the image into an obvious edit. This is helpful for quotes and screenshots intended for social media.
7. Keep the Blur Consistent
Use one blur style across the image. Mixing strong blur, light blur, and pixelation without a reason can look messy and may confuse viewers about what they are meant to read.
Practical Uses for Blurred Text Screenshots
1. Sharing Helpful Chat Messages
You may want to share useful advice from a conversation while protecting the identity of the people involved. Keep the valuable text visible and blur names, profile photos, timestamps, and unrelated messages.
2. Creating Quote Graphics
A screenshot of a meaningful note, review, or message can become a simple quote graphic. Blurring the surrounding interface makes the quote feel less like a raw capture and more like a focused visual.
3. Building Tutorials
Tutorial screenshots often contain menus, buttons, open tabs, or account information that do not matter to the lesson. A blurred background can direct the learner to the exact instruction or setting they need.
4. Preparing Customer Support Examples
Support teams can show a sample error message or setting without revealing private customer details. Blur usernames, order numbers, contact details, and unrelated screen content before sharing the image.
5. Improving Presentations
A large screen capture may look crowded on a slide. Highlighting one sentence or setting against a blurred background helps an audience understand the point quickly, even from a distance.
6. Protecting Personal Records
Screenshots of confirmations, notes, messages, or forms may be needed for reference. Blurring confidential fields before sharing reduces the chance of exposing information to the wrong person.
7. Making Social Content Easier to Read
On social platforms, viewers scroll quickly. A focused text screenshot with a subtle blur can communicate the message faster than a full, cluttered screen capture.
Common Mistakes to Avoid
1. Blurring the Text by Accident
The most common mistake is applying blur too close to the letters. Even a small amount of softness can make text difficult to read, especially on smaller screens. Always zoom in and check the edges of each line before saving.
2. Using Too Little Blur for Private Details
A light blur may look attractive, but it may not adequately hide sensitive information. If a name, number, or image must stay private, use stronger blur or pixelation and confirm it cannot be read at normal viewing size.
3. Using Too Much Blur Everywhere
Heavy blur can remove all context and make the screenshot look confusing. Leave enough visible structure for readers to know what they are seeing, unless privacy requires the background to be fully hidden.
4. Forgetting to Crop First
Blurring a full-screen capture often leaves too much empty or irrelevant space. Crop before editing so the text becomes the natural focal point and the final image has a cleaner composition.
5. Ignoring Text Contrast
Blur does not automatically solve poor readability. If the text is small, low contrast, or placed over a bright image, it may still be hard to read. Adjust the crop, background, or text presentation when needed.
6. Saving at Low Quality
Repeated edits and screenshots can reduce sharpness. Save the final file in good quality, particularly if you plan to use it in a document, presentation, or printed material.
7. Sharing Without a Final Privacy Check
Look at the whole image before posting or sending it. Check corners, notification bars, profile images, browser tabs, and hidden reflections. Private information is often missed in areas outside the main text.
Best Practices for Better Results
1. Keep the Main Message Short
A screenshot works best when the reader can understand the point quickly. If the message is long, crop it into separate images or highlight only the most relevant portion.
2. Use Moderate Blur First
Start with a medium blur level and increase it only where necessary. This preserves a natural look while still reducing distraction. Stronger effects should be reserved for sensitive content.
3. Leave Comfortable Space Around Text
Avoid placing the clear text crop right against the edge of the image. A small amount of space around it makes the screenshot easier to scan and prevents the blur from touching letters.
4. Match the Editing Style to the Purpose
A personal chat screenshot may need only privacy blur, while a social graphic may benefit from a more polished layout. Let the purpose guide how much editing you do.
5. Test on a Small Screen
Many people will view the image on a phone. Send it to yourself or reduce the preview size to make sure the words remain readable without zooming.
6. Keep Colors Simple
Busy color effects compete with the message. Neutral blur, subtle darkening, or a plain background usually produces the clearest result.
7. Save an Original Copy
Keep the original screenshot before making edits. This allows you to create another version later, correct a mistake, or use a different crop without losing detail.
Frequently Asked Questions
1. Can I Blur the Background of a Screenshot Without an Editing App?
Some phones and computers include markup or photo tools that can blur, obscure, or draw over parts of an image. If your device does not offer selective blur, you can still crop the screenshot tightly or cover private areas with a solid markup tool.
2. Is Blur Enough to Hide Personal Information?
Not always. Light blur can sometimes be reversed visually or remain readable when enlarged. For highly sensitive details, use strong pixelation, a solid cover, or remove the information before taking the screenshot.
3. How Much Should I Blur the Background?
Use enough blur to reduce distraction while keeping the screenshot recognizable. For a decorative background, mild blur is often enough. For names, account details, and other private information, use a much stronger effect.
4. Should I Blur the Entire Screenshot?
Usually, no. Leaving the main text sharp and blurring only the surrounding content creates a clearer focal point. Blur the entire image only when you plan to restore a selected clear area afterward.
5. Can I Use a Blurred Screenshot in a Presentation?
Yes. It can make a slide easier to follow by directing attention to one important message or setting. Make the text large, check contrast, and preview the slide from a distance before presenting.
6. Why Does My Blurred Screenshot Look Unprofessional?
The usual causes are uneven blur edges, unreadable text, too many effects, or poor cropping. Simplify the image, keep the text clear, use one consistent blur style, and remove unnecessary screen content.
Conclusion
Learning how to screenshot a text and blur the background helps you share information more clearly and more safely. The key is to capture readable text, crop away distractions, blur only what needs softening, and check for private details before sharing.
A good result does not require complicated design skills. Focus on clarity, privacy, and purpose. When the text remains sharp and the background supports rather than competes with it, your screenshot will be easier for people to read, trust, and use.